n8n—一款开源信息流工具的自搭建与使用
什么是n8n
n8n是一款开源的自动工作流处理工具。
举个例子,现在老师要你按照excel里的邮箱给每个人发送些许不同的邮件(可能名字有区别啊)
或者要求你每次把一个平台上的内容转发到另一个平台上啊
或者同步几个文件的数据啊……
甚至!在进门之后关灯这种事
有些时候,这种看起来写个脚本就能重复做的事情超多,但是脚本写起来又会有一点麻烦
你就需要n8n这种图形化的节点编辑工具啦~~
(至少它官网是这么写的)
但是在生活中捏,我一般用它来同步博客/twitter/QQ空间/bilibili……上面发布的内容
(比如,你要是在bilibili或者twitter上面看到了这篇文章的链接,那就是n8n推送过去的
(懒是人类进步的阶梯嘛————
为什么用n8n
它免费。
你还需要第二个理由吗!!!(xxx
那让我们开始搭建吧~~
这里是官方的doc
//老实说官方的比我写的好多了。为什么不按照官方的文档来一把,然后goto usage呢?
before
Docker
当然,你可以把n8n直接搭建在裸机上,或者……还是套层Docker吧,方便以后迁移
以下均以某盒装安装介质Debian系统为例
那,安装docker的第一步:卸载docker(旧版本啦
apt-get remove docker docker-engine docker.io containerd runc
然后安装一点点小工具来添加docker的apt源
apt-get install ca-certificates curl gnupg lsb-release
添加源
curl -fsSL https://download.docker.com/linux/debian/gpg | sudo gpg --dearmor -o /usr/share/keyrings/docker-archive-keyring.gpg
设置stable源
echo "deb [arch=$(dpkg --print-architecture) signed-by=/usr/share/keyrings/docker-archive-keyring.gpg] https://download.docker.com/linux/debian $(lsb_release -cs) stable" | sudo tee /etc/apt/sources.list.d/docker.list > /dev/null
然后安装它!
1 | apt-get update |
install
接下来会根据环境进行区分,请自行跳转一下哦
install with security
这种方式是可以带鉴权安装的,同时建议服务器上使用此种方式
安装Docker Compose
(是你的内网/其它人无法访问的服务器?没有必要了继续,请直接goto install
1 | sudo curl -L https://github.com/docker/compose/releases/download/1.27.4/docker-compose-`uname -s`-`uname -m` -o /usr/local/bin/docker-compose |
设置一个指向你服务器的n8n url
创建一个docker-composer.yml,然后把下面这一大段东西粘贴进去
1 | version: "3" |
//如果你想让n8n直接把文件存在某个文件夹下的话,请在volume下加上这样一句话
- <path you want to save file>:/files
//如果你不想要鉴权的话,请将environmentN8N_BASIC_AUTH_ACTIVE设置为false
然后将以下配置粘贴进.env里,并按你的环境修改
1 | # Folder where data should be saved |
如果你的机器上没有其它的网络应用了
恭喜你!直接运行下面这一条命令,开始你的旅程吧!
sudo docker-compose up -d
sudo docker-compose stop//如果你想关闭的话
如果有的话!
(比如nginx,apache……)
好吧,由于0.0.0.0:80和0.0.0.0:443被它们监听了,你需要
- 简单点:在上面的docker-compose.yml里换个端口
- 复杂点:反代
首先,我们需要把上面的docker-compose.yml里面ports:下改为
1 | 3080:80 |
(当然,你大可不必也用3080和30443
接下来以nginx反代为例:(自行修改!
1 | server { |
接下来一样
sudo docker-compose up -d
sudo docker-compose stop//如果你想关闭的话
install on a machine(local or secure)
这种方法没有任何的鉴权措施!
有了docker,那安装n8n就是一句话的事了
1 | docker run -it --rm --name n8n -p 5678:5678 -v ~/.n8n:/home/node/.n8n n8nio/n8n |
这句话会在当前的用户文件夹下产生一个.n8n文件夹来存放数据,并会让应用运行在5678端口上
(然后你就会发现你的5678端口门户大开x
n8n提供了基本的鉴权,但需要按照上面在server上安装的方法安装
usage
这玩意就是将节点妥妥拽拽来完成工作的,应该不难上手
这里着重讲一下twitter的使用吧
n8n连接twitter,本质上是你在twitter上创建了一个你自己的app,然后让n8n连接那个app
那么自然,我们要先:
创建twitter app
首先你需要登录twitter的开发者页面,并创建一个app
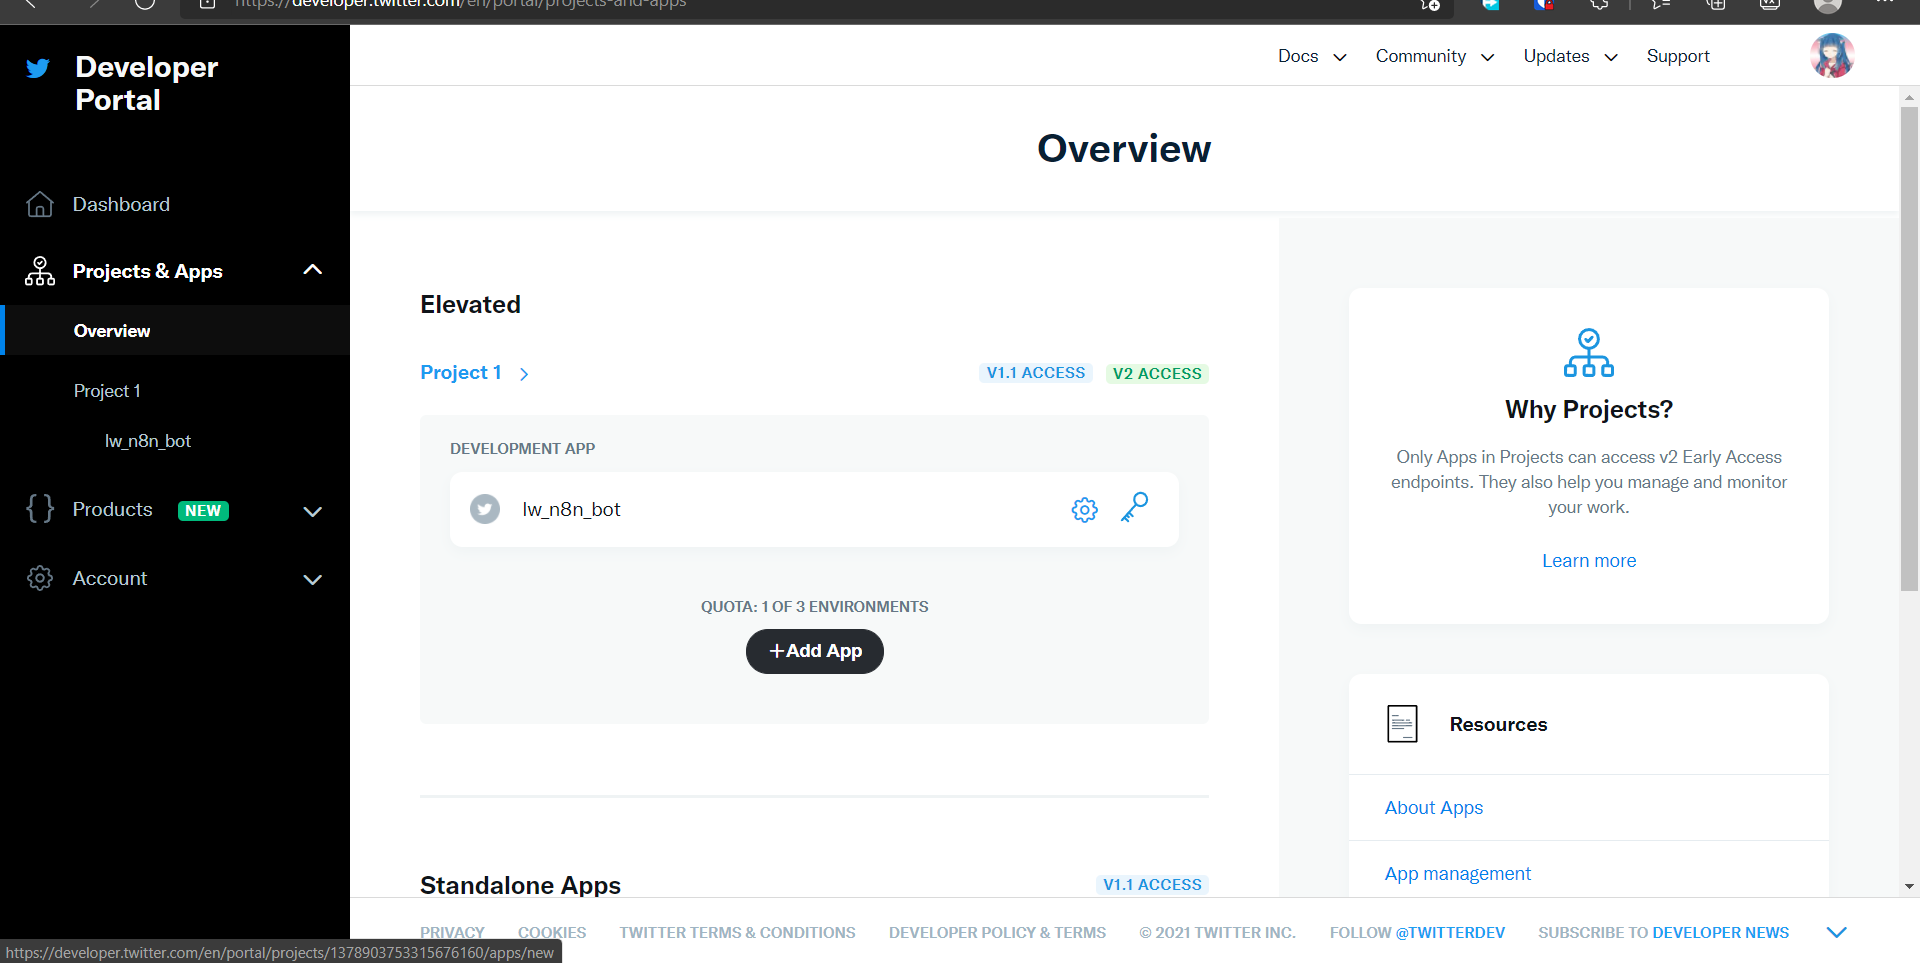
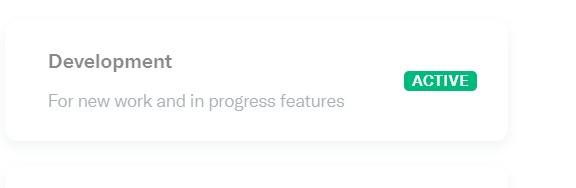
然后选择Development(这里是因为我本身就有一个,所以选择不了)
取名,然后假如你是李华,你要…………(xxxx
一般来说都会过的啦~~
然后在n8n点击节点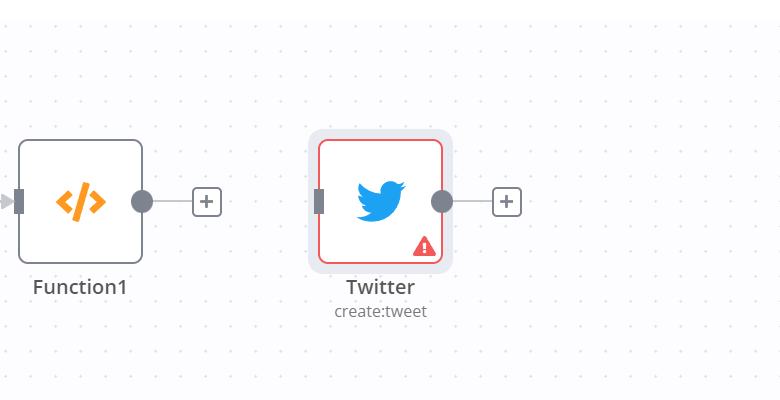
选这个~
接下来把key和token填过去就好啦~~
(记得填写callback url哦!
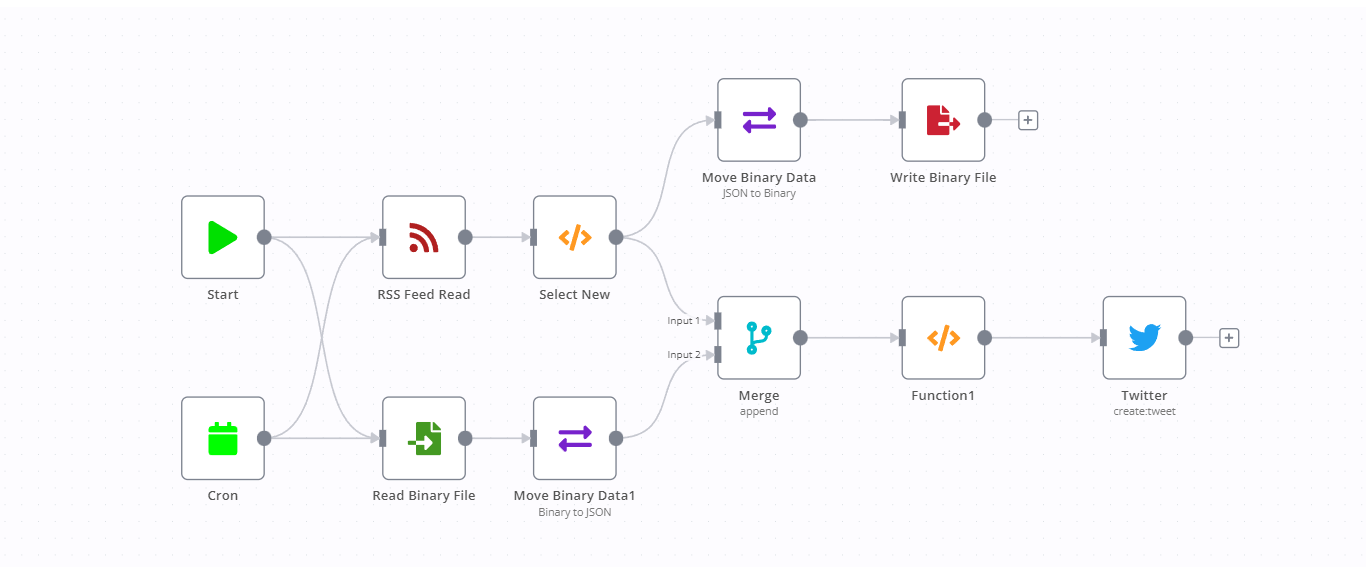
一些有用的节点:
当有新feed时:
(请在尾端连上你想去的节点
1 | { |